
Inspect
This section explains how to review and analyse captured assets in Trace Intercept.
Inspection in Trace Intercept allows you to remotely assess condition, compare captures over time, share findings, and document decisions.
Reconstruction and measurement tools are optional and are covered separately under Reconstruction.
Purpose of Inspection
Inspection allows you to:
• Review chamber imagery without returning to site
• Navigate vertically through structured shot sequences
• Compare multiple capture dates
• Identify defects or changes
• Share exact views with colleagues
• Record observations
Effective inspection reduces repeat site visits and improves shared understanding across teams.
Finding an Asset
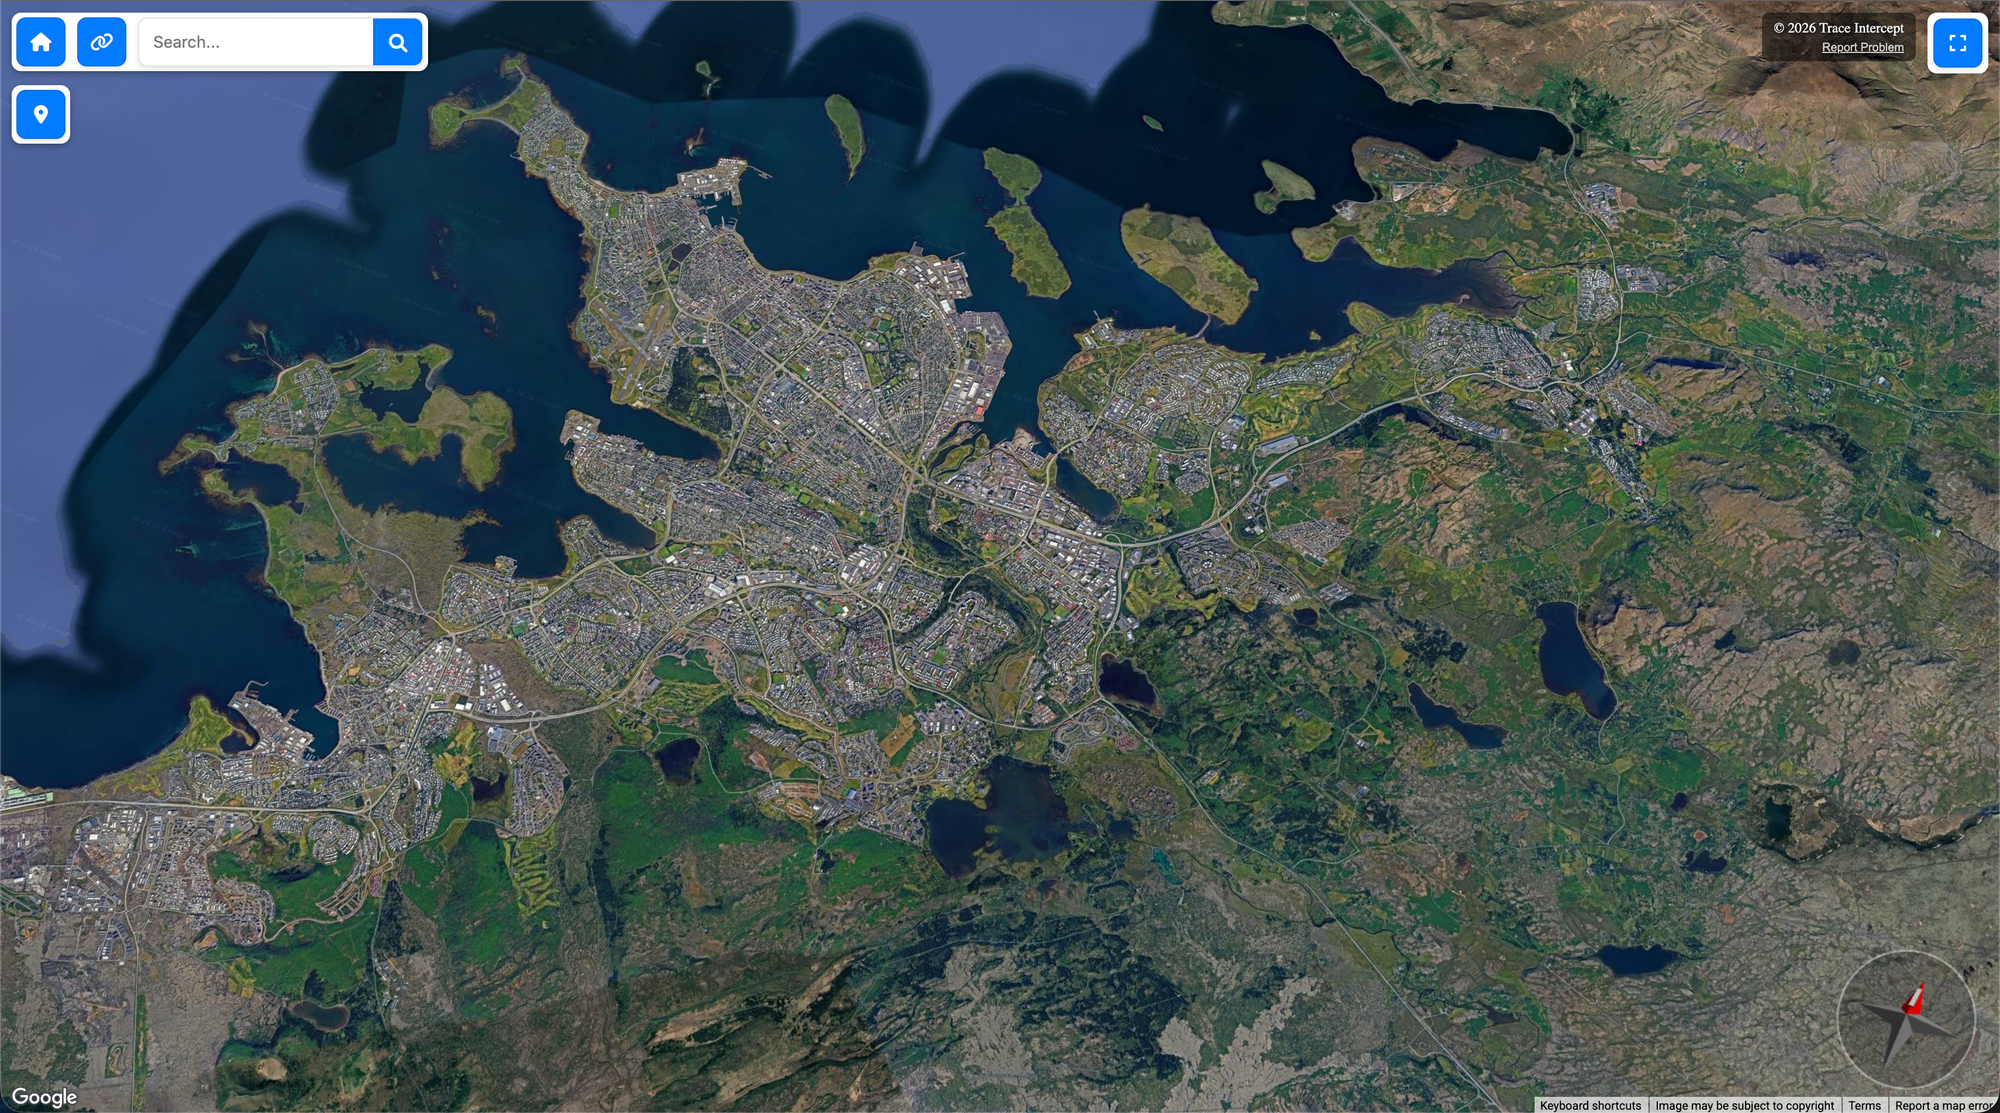
To begin inspection:
- Use the map view to navigate to the relevant area
- Use search to locate an asset by name or identifier
- Select the chamber marker
When selected, the split view displays:
• Map context
• Associated shot sequences
• 360° imagery
If imagery has been captured, blue spheres will indicate available shot sequence positions.
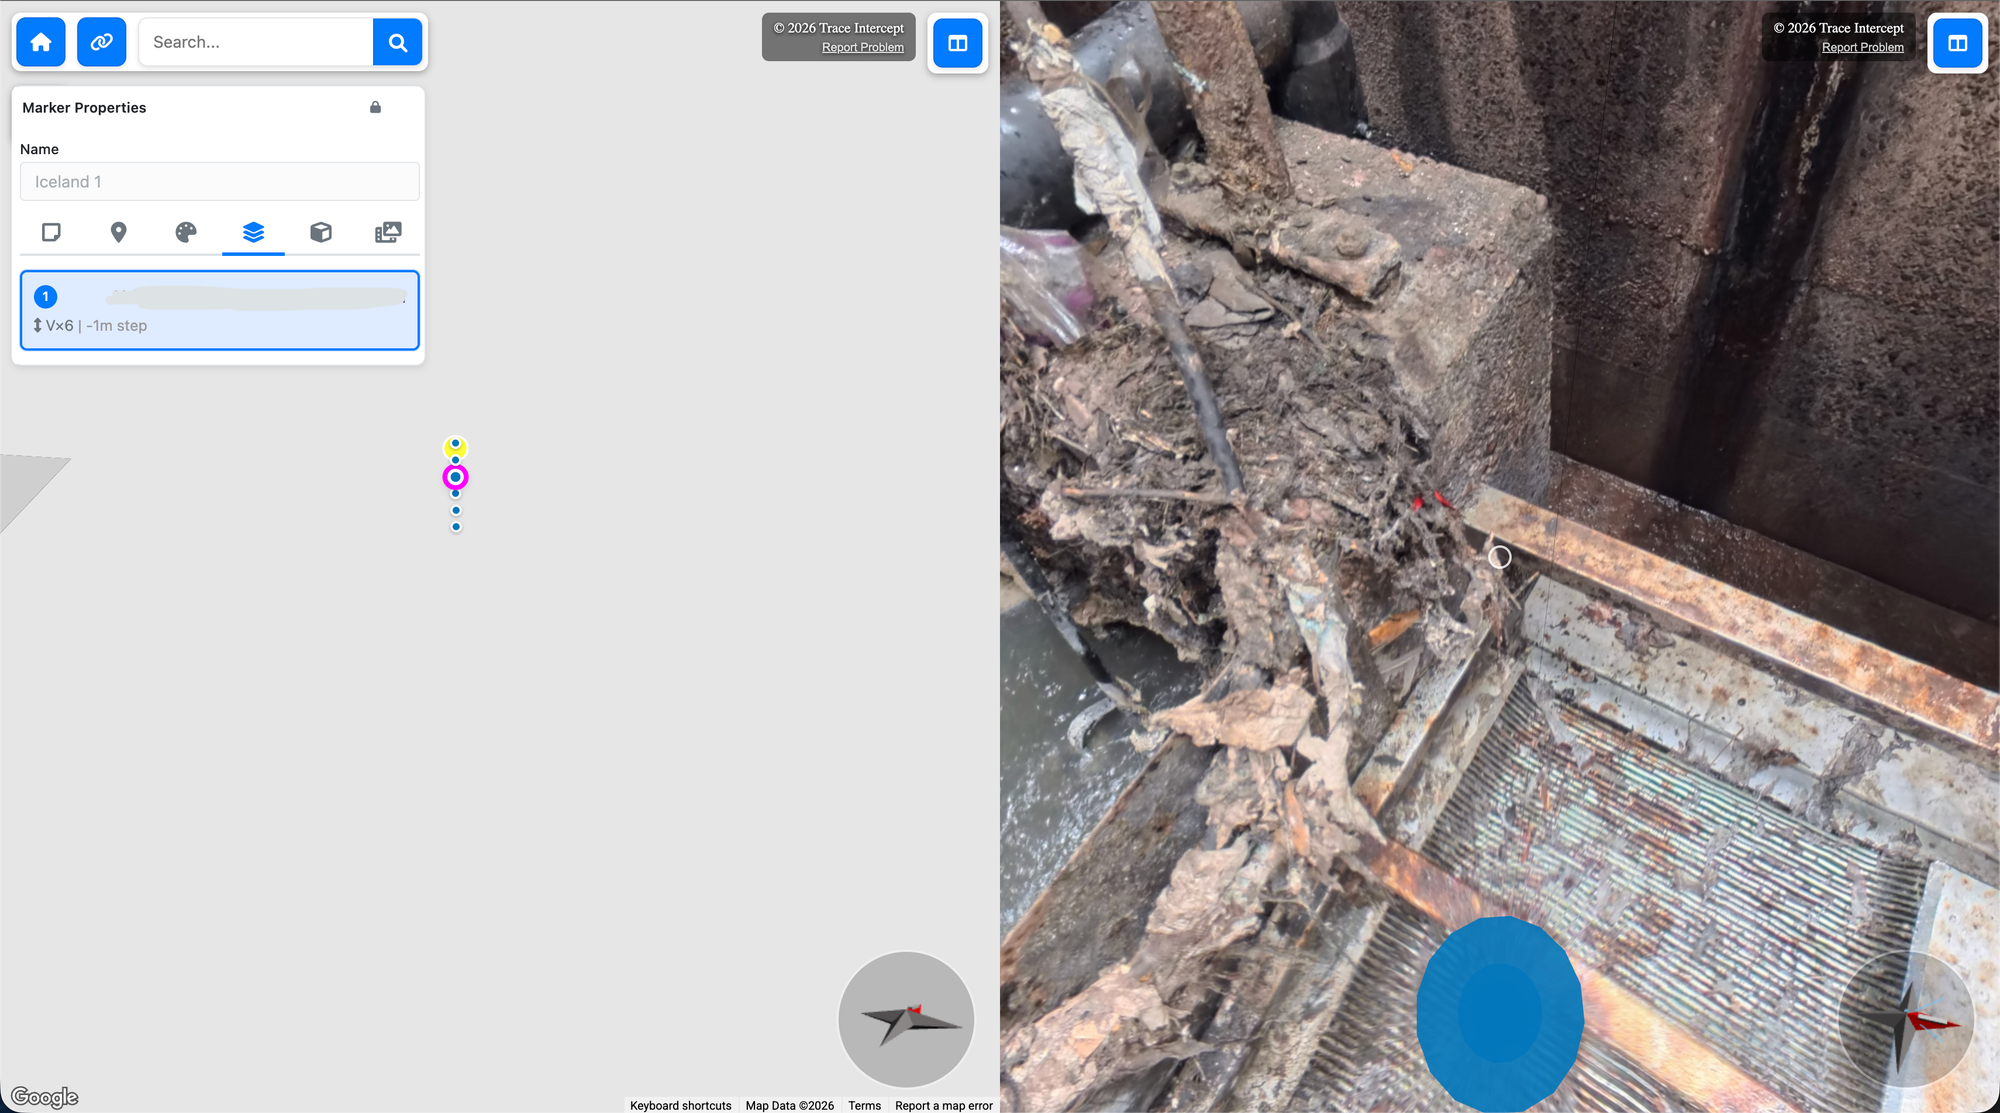
Navigating Shot Sequences
Shot sequences represent the structured progression of images captured within a chamber.
To navigate:
• Select a blue sphere in the map view
• Or select a position within the shot sequence panel
• Click blue spheres within the image view to move up or down
This allows you to move through the chamber vertically and examine features at each level.
Where multiple shot sequences exist, they will appear by capture date.
Comparing Capture Dates
If an asset has been captured more than once:
- Open the Shot Sequence tab
- Select the desired capture date
- Review imagery
- Switch between dates to compare conditions
This supports:
• Before-and-after maintenance review
• Post-incident assessment
• Condition change analysis
• Capital project verification
Consistency in orientation improves comparison clarity.
Reviewing Imagery
When inspecting imagery:
• Rotate view to examine all surfaces
• Zoom in on areas of interest
• Confirm inlet and outlet positions
• Observe structural features
• Identify debris, deformation, or obstruction
Well-oriented imagery should reflect real-world alignment and flow direction.
If orientation appears incorrect, consult your organisation’s process for correction.
Using Full Screen and Split View
Trace Intercept allows you to:
• Expand the map to full screen
• Expand imagery to full screen
• Return to split view
Split view is typically preferred when:
• Confirming orientation against map position
• Reviewing spatial relationships
• Conducting collaborative sessions
Full screen may be preferred for detailed visual review.
Adding Notes During Inspection
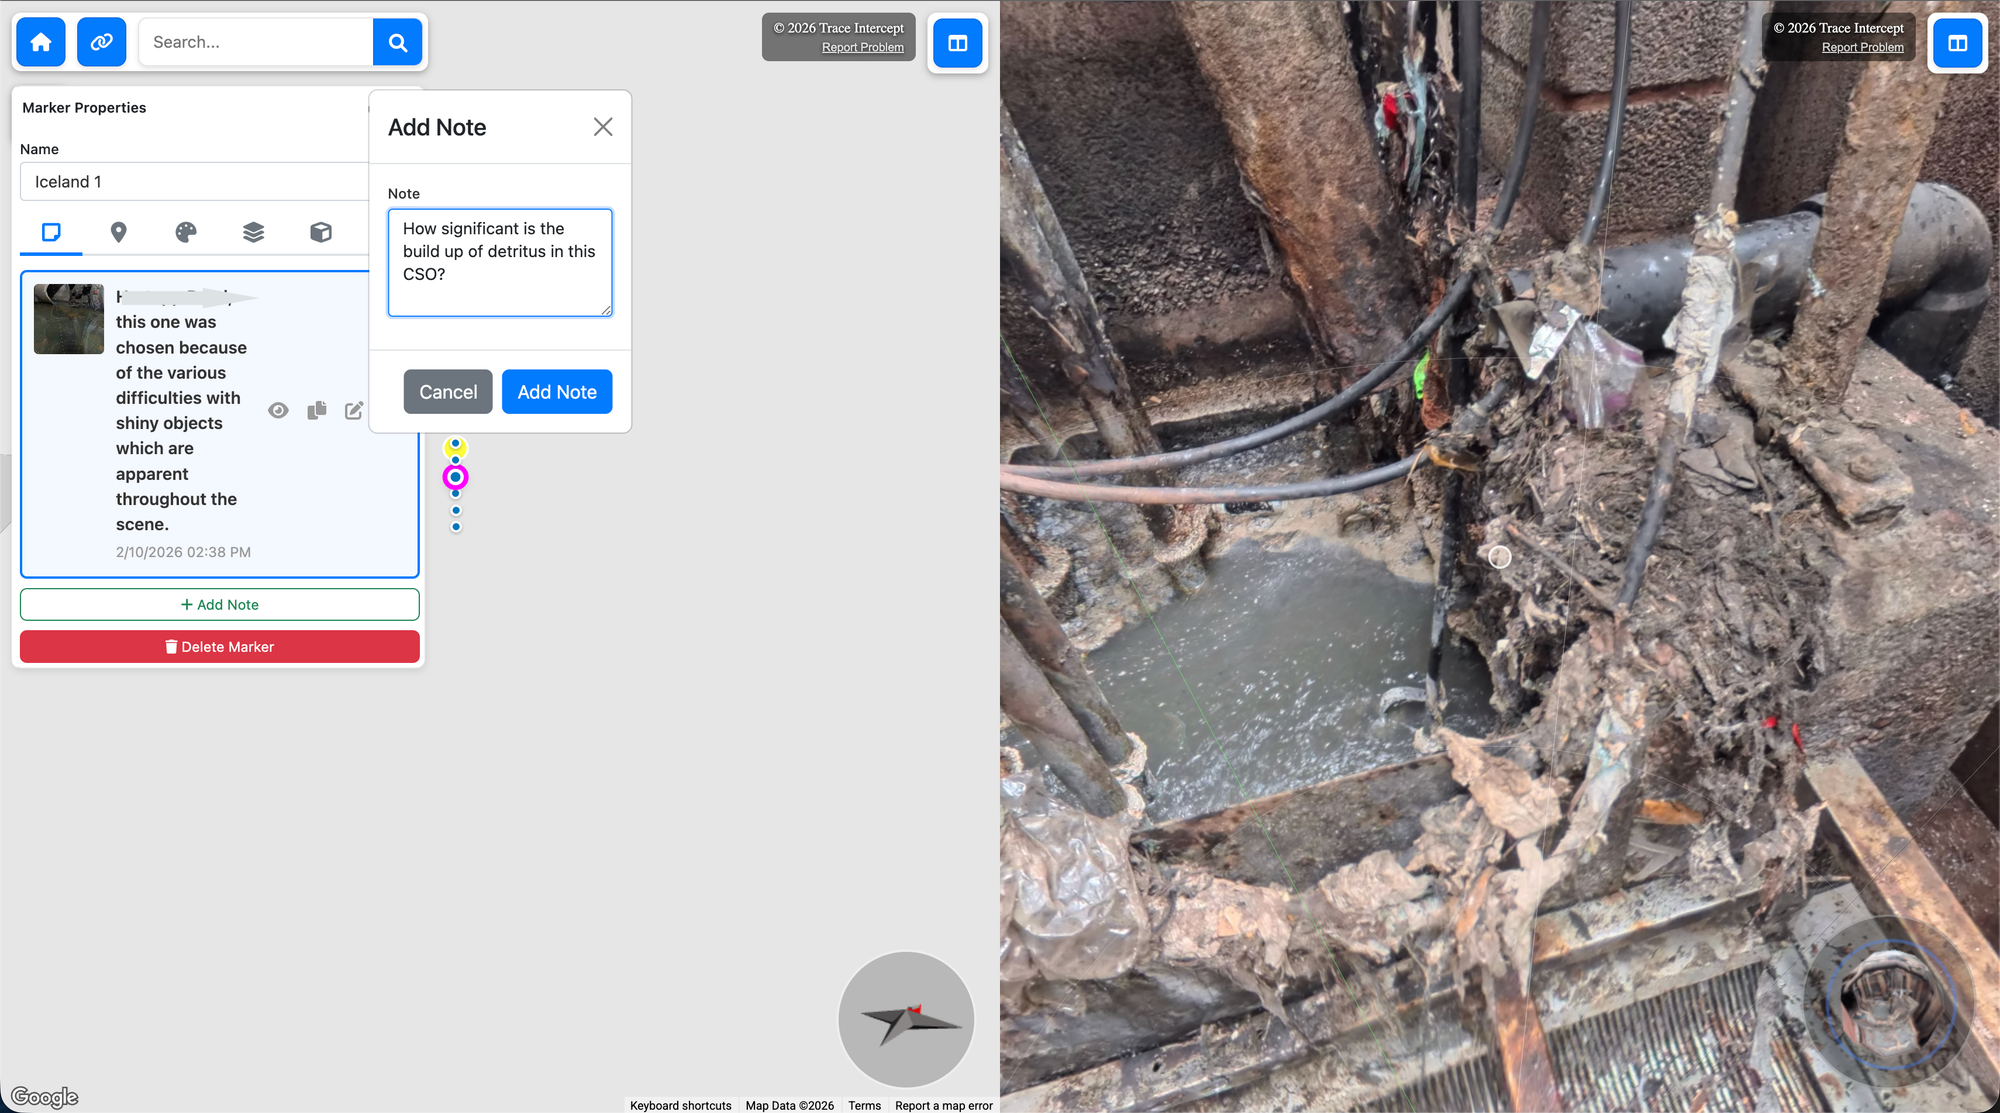
During inspection, you may:
• Add notes to record observations
• Report defects
• Generate permalinks
Notes preserve:
• Map position
• Image orientation
• Zoom level
• Active shot sequence
This ensures others see exactly what you were reviewing.
See Evidence for structured documentation guidance.
Collaborative Inspection
Inspection is often performed collaboratively.
During a session:
- Select the asset
- Share a permalink
- Confirm all participants are viewing the same state
- Navigate together through imagery
- Add notes as required
Because the platform is browser-based, no specialised software is required for participants.
See Collaborate for structured session guidance.
When Reconstruction Is Available
If the Reconstruction module is enabled for your organisation:
• A Reconstruction tab will appear for applicable assets
• Reconstruction is typically used when dimensional analysis is required
• Calibration is performed only when specified by internal procedures
Reconstruction is not required for standard visual inspection.
See Reconstruction for details.
What Effective Inspection Looks Like
An effective inspection session:
• Reviews the full vertical extent of the chamber
• Examines inlet and outlet features
• Considers historical captures where available
• Documents relevant findings
• Shares views clearly using permalinks as appropriate
The goal is to enable informed decision-making without unnecessary site revisits.
Next Steps
After inspection you may:
• Run a collaborative review session
• Record formal notes or defects
• Proceed to reconstruction and measurement (if required)
• Export Evidence for reporting
Choose Your Starting Point
If you are rolling Trace Intercept out → Start with Enablement
If you are preparing for a site visit → Start with Plan
If you capture assets → Start with Capture
If you review assets → Start with Inspect
If you run joint sessions → See Collaborate
If you provide formal documentation → See Evidence
If reconstruction is enabled → See Reconstruction
If you are considering process change → See Transformation
If you have questions → See FAQ
Still need help? → See Support & SLAs